


Cleaning a sex doll after use is an important part of hygiene, comfort, and long-term care. A careful routine helps remove bodily fluids, lubricant, and bacteria while protecting the doll’s material, internal structure, and appearance. The process is usually straightforward, but beginners should pay close attention to the manufacturer’s instructions, especially when the doll contains electronic components or is made from a delicate material.
Before You Start: Identify the Material and Construction
Before cleaning, check what your doll is made from and how it is built. Most realistic sex dolls use either thermoplastic elastomer (TPE) or silicone. These materials require slightly different care, and using the wrong product may cause discoloration, stickiness, cracking, or permanent damage.
- TPE: TPE is soft and realistic but more porous than silicone. It can absorb oils and moisture more easily, so prompt cleaning and thorough drying are especially important.
- Silicone: Silicone is generally less porous and easier to sanitize. However, harsh chemicals, abrasive tools, and incompatible lubricants can still damage its surface.
- Electronic dolls: Dolls with heated parts, moving mechanisms, speakers, or other electronics must not be submerged unless the manufacturer explicitly states that they are waterproof.
- Removable components: Some dolls have removable internal sleeves or detachable parts. Follow the product manual when taking these pieces out, and do not force anything that does not release easily.
If you no longer have the instructions, look for the manufacturer’s care page or contact customer service. A general cleaning method is useful, but the product-specific guidance should always take priority.
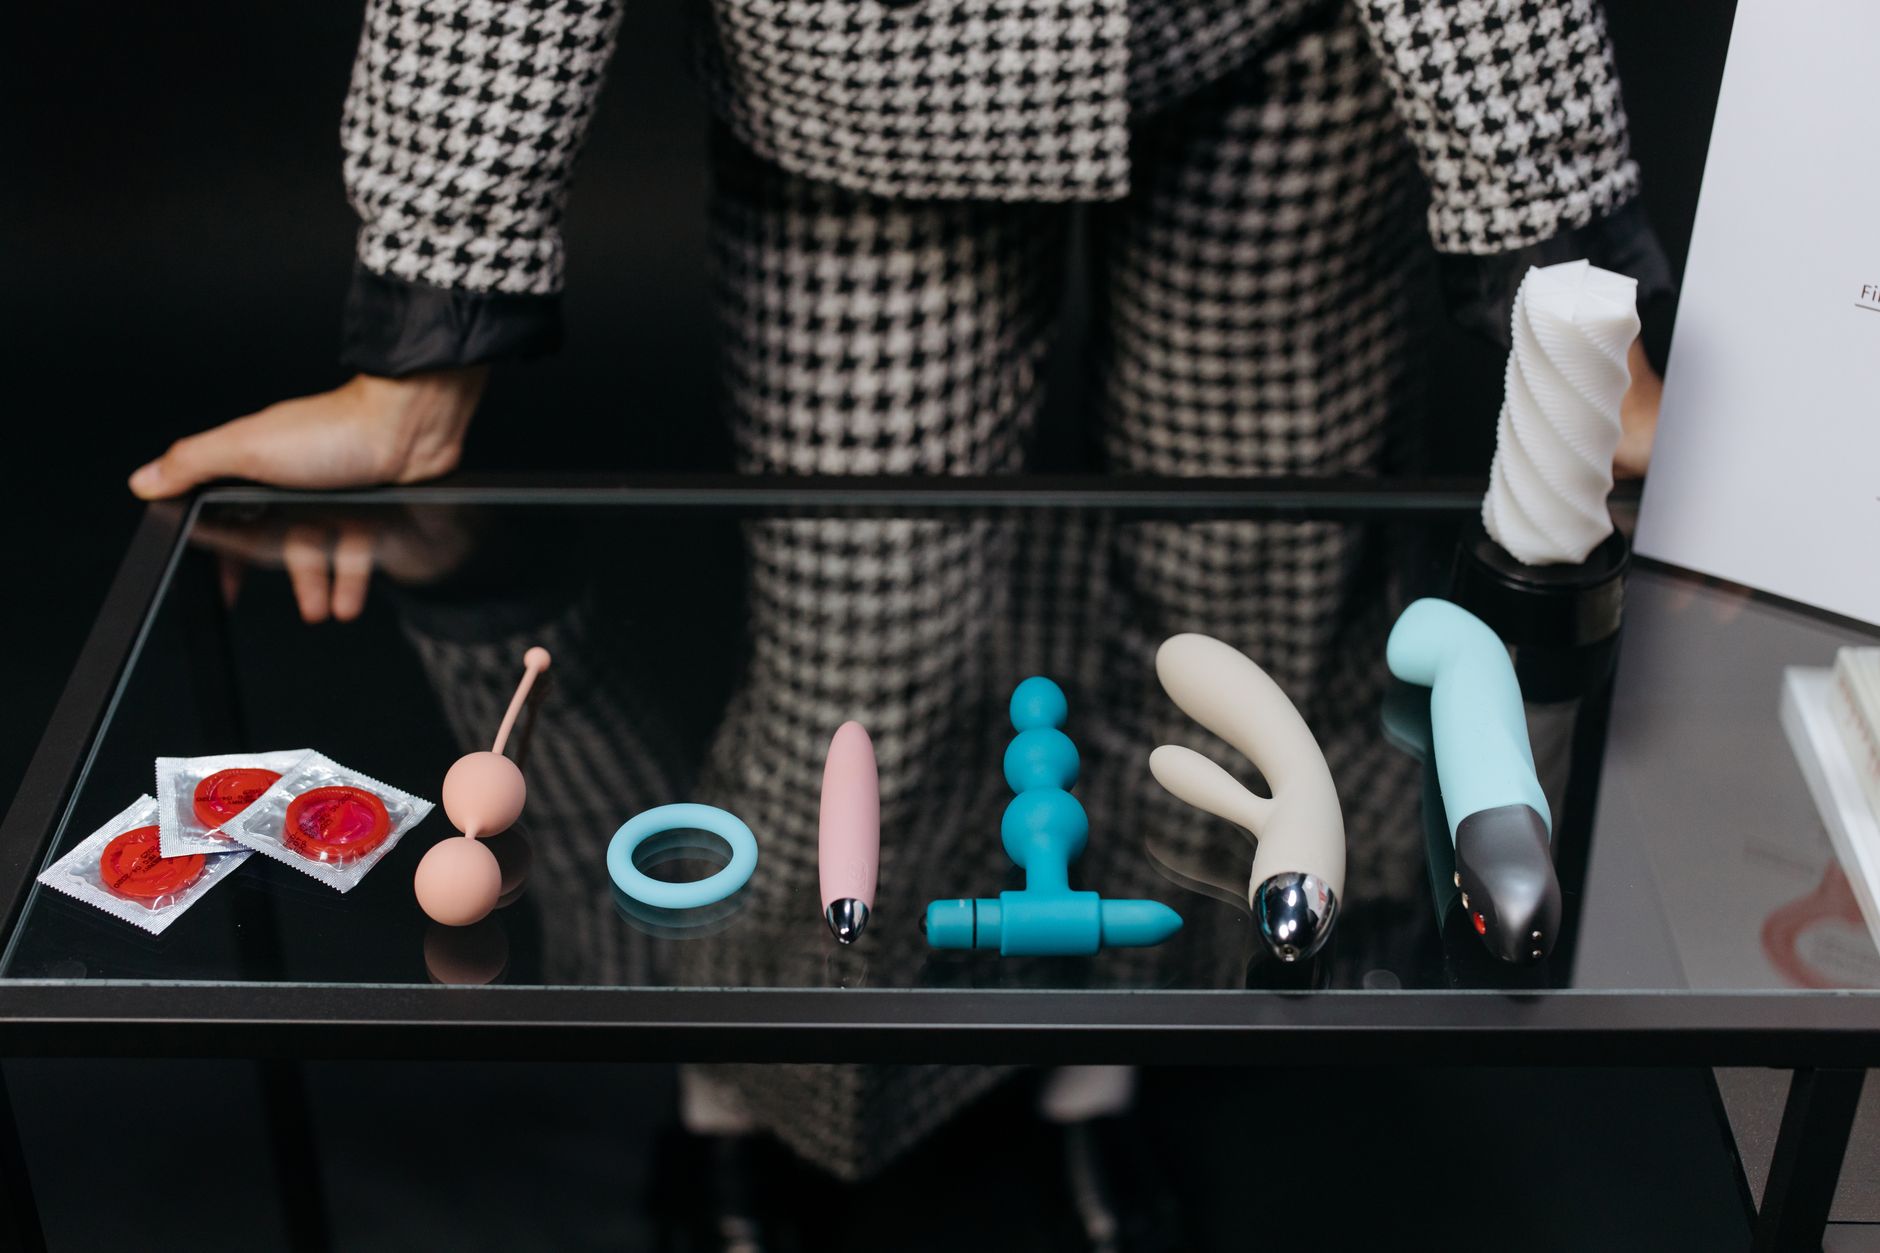
Prepare your supplies before beginning. You will usually need lukewarm water, a mild fragrance-free soap or a sex-toy-safe cleanser, a soft microfiber cloth, clean towels, cotton swabs, and a drying stand or clean ventilated area. For internal cleaning, a squeeze bottle, bulb syringe, or purpose-made cleaning tool may be helpful. Avoid improvising with sharp, rough, or rigid objects.
Step 1: Prepare a Clean and Safe Washing Area
Choose a private, clean area with enough room to handle the doll without dropping or bending it. A bathtub, large shower area, or washable surface can work well. Place a clean towel underneath the doll to protect the skin-like material and reduce strain on the frame.
Wash your hands before handling the doll. If you used a condom during intercourse, remove it carefully so that fluids do not spill onto the doll. Tie or wrap the used condom and dispose of it according to local waste guidelines. Do not flush condoms down the toilet.
Remove jewelry, watches, or anything else with sharp edges that could scratch the surface. Keep pets, children, and electronic devices away from the washing area. If the doll has a charging port, battery compartment, control panel, or other electrical connection, confirm that it is switched off and protected from water.
Important: Never pour water over an electronic area or immerse the entire doll unless it is specifically designed and certified for that type of cleaning.
If the doll is heavy, move it slowly and support the head, torso, and joints. Avoid dragging it across rough flooring. A second person may be helpful for larger models, particularly when positioning the doll for cleaning or drying.
Step 2: Clean the Exterior Thoroughly
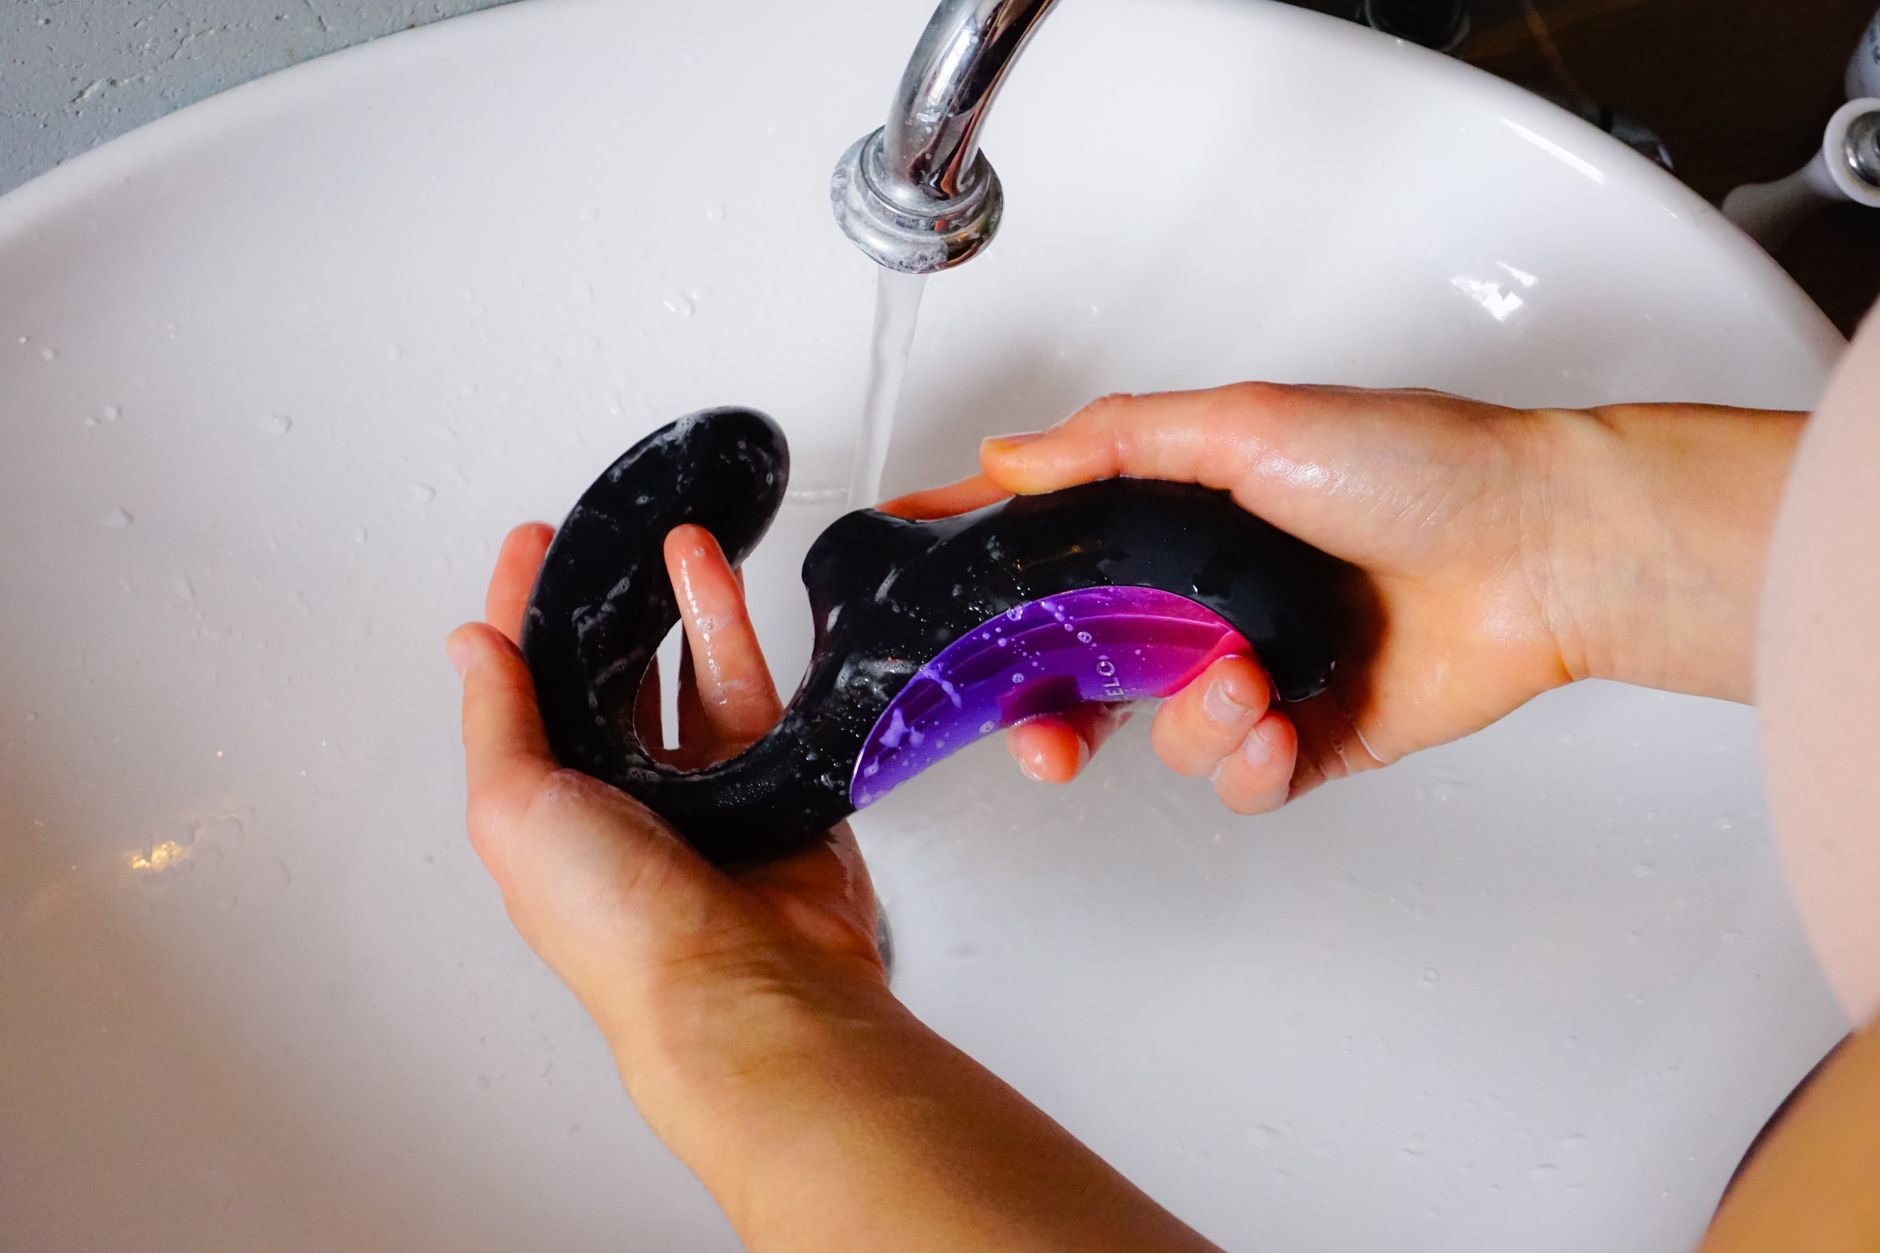
Start with lukewarm water. Water that is too hot may soften, deform, or weaken some materials, while cold water may not remove lubricant and residue effectively. Apply a small amount of mild, unscented soap to a damp cloth rather than rubbing a large amount directly onto the doll.
Gently wipe the entire exterior, paying special attention to areas where moisture, lubricant, or body fluids may collect. These commonly include the thighs, hips, buttocks, breasts, abdomen, hands, and skin folds. Use light pressure and slow movements. Do not scrub aggressively, as friction can create shiny patches or damage the surface finish.
For dolls with textured skin, use a soft cloth that can reach the contours without pulling on the material. A soft, clean toothbrush may be suitable for small grooves or seams, but only if the manufacturer allows it. Never use a stiff brush, scouring pad, melamine sponge, or abrasive cleaning powder.
Rinse the cloth frequently so that you are not spreading residue from one area to another. If the doll can safely be rinsed, use a gentle flow of clean lukewarm water. Otherwise, wipe away soap with a fresh damp cloth several times. Soap left on the surface can cause irritation, dryness, discoloration, or a sticky feeling after drying.
Do not use bleach, alcohol, acetone, ammonia, disinfectant sprays, essential oils, or household degreasers unless the manufacturer specifically approves them. These products may seem effective, but they can break down TPE, dull silicone, remove coloring, or leave residues that are unsuitable for intimate contact.
Step 3: Clean Internal Openings Carefully
Internal openings require extra care because moisture and residue can remain out of sight. Clean each opening according to the manufacturer’s instructions. If the doll has a removable sleeve or insert, take it out gently and wash it separately when permitted.
For a non-electronic doll, fill a squeeze bottle or bulb syringe with lukewarm water and gently flush the opening. Let the water drain completely. Repeat until the water runs clear. A small amount of mild, fragrance-free soap or a compatible intimate-toy cleanser may be used if the instructions permit it, but do not overuse cleanser or create excessive foam.
Never force water under high pressure. Strong pressure can push liquid deeper into the body, damage internal structures, or make drying more difficult. Do not insert cotton swabs, towels, paper products, or other materials deeply into an opening, since fibers may remain inside or the object may become stuck.
After rinsing, tilt the doll carefully so excess water can drain. For deeper channels, a clean bulb syringe may help remove trapped water by gently drawing it out. Some owners use a purpose-made drying rod or air blower, but only use accessories that are designed for the doll’s material and shape. Avoid compressed air at high pressure, as it can damage delicate internal areas.
Never use a hair dryer on a hot setting. Direct heat may deform the material, weaken seams, or create uneven drying. If airflow is needed, use cool air from a distance and only when the manufacturer recommends it.
Step 4: Dry the Doll Completely
Drying is just as important as washing. Remaining moisture can encourage unpleasant odors, mold growth, bacterial buildup, and material deterioration. Begin by patting the exterior with a clean, soft towel. Do not rub forcefully, twist limbs, or pull on the skin-like surface.
Allow internal openings to drain naturally with the doll positioned safely. Depending on the design, the opening may need to face downward for a period of time. Support the doll so that no joint or limb is placed under unnecessary pressure. A clean drying stand can improve airflow, but it should be stable and suitable for the doll’s weight.
Leave the doll in a cool, dry, well-ventilated room away from direct sunlight, heaters, radiators, and open flames. Sunlight can fade coloring and cause some materials to become brittle or sticky. Do not seal the doll in a storage bag while any part of it is damp.
Drying time varies according to the material, temperature, humidity, and internal design. The surface may feel dry while moisture remains inside. Check internal areas after several hours and continue drying until there is no visible moisture or damp odor. If the doll has removable inserts, dry both the insert and the surrounding cavity separately before reassembling them.
For TPE dolls, some manufacturers recommend a small amount of compatible renewing powder after the surface is completely dry. This may reduce tackiness and help maintain a smooth finish. Use only the powder recommended by the manufacturer, apply it sparingly, and avoid inhaling it. Do not apply powder to a wet or dirty surface, since it can trap moisture and residue.
Step 5: Inspect, Store, and Maintain the Doll
Once the doll is clean and dry, inspect it carefully. Look for tears, loose seams, discoloration, unusual stickiness, unpleasant odors, or moisture trapped in joints and openings. Small damage should be addressed promptly according to the manufacturer’s repair guidance. Continuing to use a doll with a tear may allow water to enter the interior or make the damage worse.
Store the doll in a cool, dry location away from direct sunlight and extreme temperatures. Avoid placing heavy objects on top of it. If it must lie down, change its position occasionally to reduce pressure marks. Keep joints in a neutral position unless the manual recommends a particular storage posture.
Some materials may react when they touch other materials for long periods. To reduce the risk of discoloration or chemical transfer, place a clean, light-colored cotton sheet between the doll and surfaces such as dark fabrics, vinyl, painted furniture, or other rubber products. Do not wrap the doll tightly in plastic, because trapped humidity can create odor and encourage mold.
Clean accessories, removable parts, and storage containers separately. Lubricant should be compatible with the doll’s material; water-based lubricants are often the safest general option, but the manufacturer’s recommendation is more reliable. Oil-based products may damage some TPE materials, while silicone-based lubricants may affect certain silicone surfaces. When uncertain, test a very small amount on an inconspicuous area or choose a product specifically labeled as compatible.
For regular use, cleaning should take place after every session rather than only when the doll appears dirty. If another person uses the doll, use a new condom and clean the doll before and after use. A condom does not eliminate the need for cleaning, because fluids and lubricant can still reach the surrounding surface.
Common Cleaning Mistakes to Avoid
- Using hot water: Excessive heat can deform or weaken the material.
- Using strong disinfectants: Bleach, alcohol, and solvents may cause cracking, fading, or surface damage.
- Scrubbing with abrasive tools: Rough sponges and brushes can leave permanent marks.
- Ignoring internal moisture: Damp hidden areas are a common cause of odors and mold.
- Submerging electronic components: Water can create a serious safety hazard and destroy the mechanism.
- Storing the doll while damp: A closed bag or case can trap humidity.
- Mixing incompatible products: Certain lubricants, powders, and cleaners may react with TPE or silicone.
If the doll develops a persistent odor, visible mold, unexplained discoloration, or a damaged internal structure, stop using it and contact the manufacturer or a qualified repair service. Do not attempt aggressive chemical treatment, as it may create further damage or leave unsafe residues.
Conclusion
Cleaning a sex doll after use is a simple routine when done consistently: prepare a safe washing area, use lukewarm water and gentle compatible products, clean internal openings carefully, remove all moisture, and store the doll in a cool, ventilated place. The most important principles are to follow the manufacturer’s instructions, protect electronic parts, avoid harsh chemicals, and never rush the drying process. With proper care after every use, a sex doll can remain cleaner, more comfortable, and in better condition for much longer.